
When you level your lawn, you smooth it out to eliminate any lumps and bumps. Leveling is most commonly done to approve the appearance of your yard. There’s nothing that looks quite like a nice flat green lawn. Changes in the landscaping can occur over time due to erosion, pests or problems with underground piping. You’ll want to address these changes when they happen.
Continue reading to learn how to level a large lawn.
Causes of an Uneven Lawn
Here are some different reasons why your lawn might become uneven.
The Elements
Over time, the elements can cause your soil to expand and contract from temperature changes. During the freezing and thawing process, the soil can be lifted and the surface can become uneven.
Erosion occurs as a result of rain and snow, which causes soil to break down and changes the shape of your lawn.
Pests
Another cause of an uneven lawn is pests such as moles and other critters. They dig holes and burrow in tunnels which can cause the soil to be displaced. Take steps to get rid of them and prevent them from taking up homes in your lawn.
You may have an excess of grub worms that are attracting these critters so you will want to solve that problem.
Underground Pipes
Another cause of an uneven lawn is underground pipes that may break down and leak over time.
When they leak, they send water into the ground. As the soil moves and changes form, the surface can become uneven.
Lawn Equipment
Using equipment such as lawn mowers and other heavy machines can also change the surface of your grass.
Make sure that your mower is set correctly. It should cut the grass without digging into the ground.
You should not follow the same path every time you mow your grass or you can end up making the lawn uneven.
Try to alternate the pattern that you use to mow.
Foot traffic
Finally, family members and pets can lead to uneven areas in your lawn. Foot traffic has the potential to dig up grass in certain areas. Over time, this in combination with other factors might cause erosion to areas of your lawn.
No matter what you do, your lawn will likely experience some erosion through natural causes but it’s good to stay on top of it to prevent it from becoming too uneven.
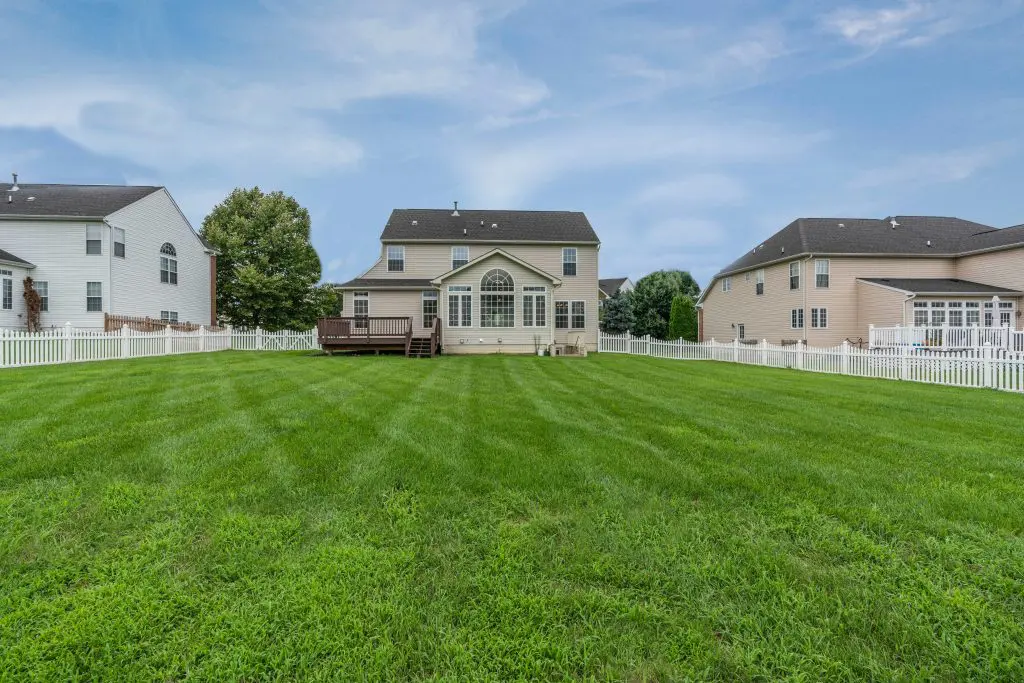
Why Level a Lawn?
Not only will a smooth level lawn look better, but it also provides a safe place for you to walk and for your children to play.
In addition, it’s easier to maintain a level lawn. The grass will be easier to cut evenly when you mow, especially with a reel mower.
A level lawn allows you to cut the grass more quickly and your mower won’t scrape into the soil.
In addition, you can avoid getting low areas in your lawn that can hold water. This will help to prevent your grass from becoming diseased or dying.
Tools to Level a Lawn
If you want to level your lawn, you will need certain tools and equipment.
The basic equipment that you need includes the following:
- Thatch rake
- Plastic leaf rake
- Leveling rake
- Large push broom
- Shovel
- Edger
- Wheelbarrow
I’ve included links above to products I recommend.
The leveling rake is a great tool and it is used by many different golf courses because it works really well. It can help you spread out leveling materials such as soil and it helps you remove stones and rocks and break up clumps of soil. It will leave you with a very smooth surface and it’s easier to use than your ordinary yard tools.
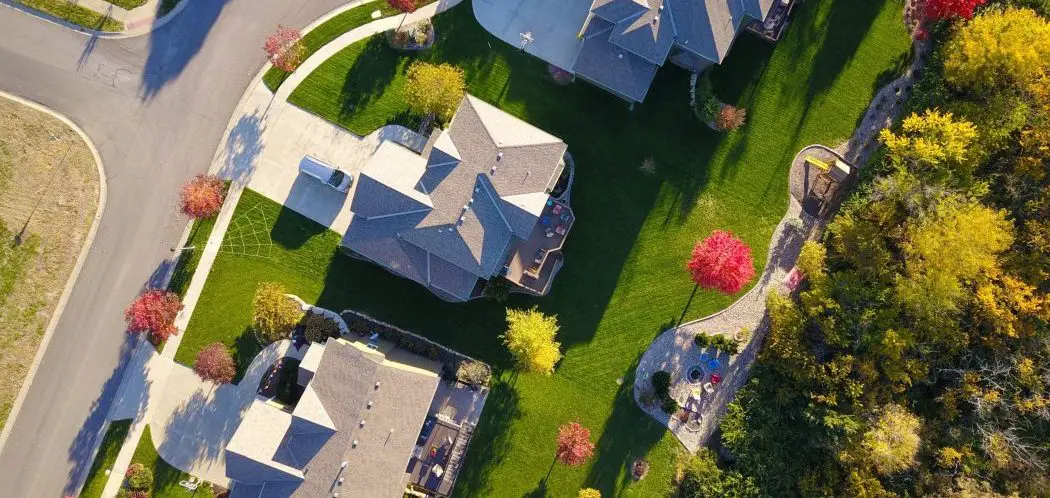
Considerations for a Large Lawn
If you have a large yard, you should start by evaluating the entire area and then break it down into sections.
It can be difficult to go through two or three acres with hand tools so you will want to do a thorough evaluation to see which parts of your lawn need to be leveled.
If you have taken care of your lawn regularly, you may find that you only need to do certain sections.
Steps for Leveling the Lawn
Step 1: The Mix
You need to have a topsoil or a topsoil dressing mix that you can add into sunken areas.
You can get a mix of compost and loam from your local nursery or just use a topsoil mix that you buy from a gardening store.
Make sure that you use a topsoil mix that is ideal for your climate.
Your local nursery can help you determine the best mix.
The majority of golf course use roughly an 80% sand, 20% peat mix to level the unless they are leveling a green made up of mostly sand.
If your lawn is made of clay soil, you’ll want to use an 80/20 mix for shallow dips.
If you’re looking to level over an inch or so, you don’t want to use plain sand to fix the ruts.
Deeper ruts require a 50/50 mix of soil and sand.
You can use left-over garden soil but you’ll want to screen it out first to remove any debris.
The best type of sand to use here is play sand.
Step 2: Preparation
Start off by mowing the grass. You should cut the grass a little shorter than normal so that it’s easier to see areas that are uneven.
Once you have finished mowing the grass, walk around and find the spots that have uneven patches. Look for any grooves, bumps or ridges.
If you have a long flat timber lying around, you can use it by laying it on the ground.
Look for any large gaps underneath and aim to target these areas.
It’s a good idea to mark the areas. You can use orange cones or any other object that helps you remember where you need to level the lawn.
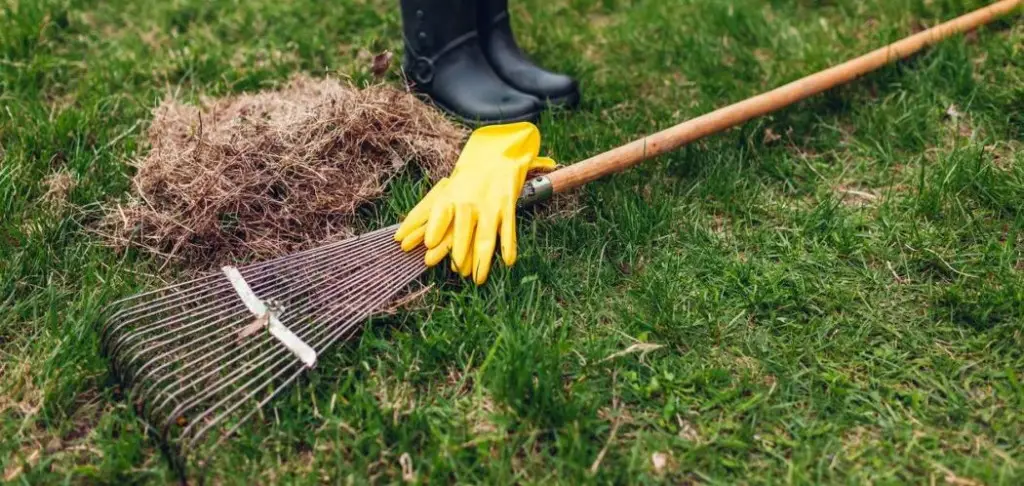
Step 3: Removing thatch
Next, you should remove as much thatch on your lawn as possible.
This is basically dead grass sitting in your lawn.
Thatch build up can compete with your grass for the air and nutrients it needs so it’s good to remove it before applying your topsoil mix.
You can use a thatch rake and simply pull it across the surface of the lawn.
I use this one (link to Amazon). It’s curved tines are really effective.
If you have a larger lawn, you might find it easier to rent a large dethatching machine.
Step 4: Level the Lawn
Now you are ready to apply the mix.
Take your mix and apply up to a ½ inch to the low areas.
If you have divots that are much deeper than this, you need to dig up the grass and fill them in. You can replace the grass on top of the soil after you fill in the hole. Then press down on the grass so that it takes hold.
Ensure the ground is levelled out by raking back and forth using the flat edge of the leveling rake to flatten the soil.
You can also use a shovel to redistribute the soil to uneven areas that are difficult to reach.
You could even use a tiller if there are areas where the soil needs to be broken up. This should make it easier for you to spread it out evenly.
Try to work on small sections, one at a time.
Step 5: Watering the lawn
When you have finished leveling the lawn, you’ll want to add some water with your sprinklers.
Make sure that it is wet but do not soak it.
Take one final look to make sure that there aren’t any areas that are depressed or raised up.
When you are happy with the results, you can plant seed.
Hiring a Company to Level Your Lawn
You also have the option to do this on a larger scale where you hire in a company to level your lawn for you.
What’s the Best Time of the Year to Level?
The best time to level your lawn is the early fall. During this time, the soil is warm and there will be time for the roots to take hold before the winter comes.
You can also level your yard in the mid to late spring. It is important to level your yard at a time when you can plant new grass successfully so that it will take root and grow.
The mix you put down can actually encourage new growth.
If you get heavy rain after putting down the mix, you can get some movement so it’s good to plan ahead and aim to do this before a dry period lasting several days or so.
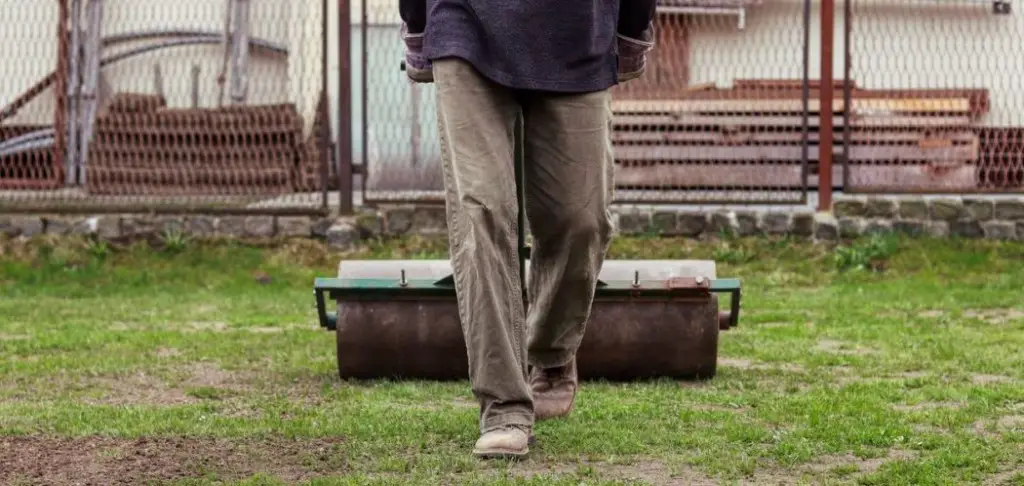
Can You Use a Roller to Level Your Lawn?
Using a lawn roller is certainly hard work, especially if you have a large area to cover. I use this push/tow poly lawn roller to help reduce some bumps. It’s not going to necessarily ‘level’ your yard.
Lawn rollers are pretty cheap to rent so you might want to give it a try when the ground is soft enough.
Excessive lawn rolling could cause some compaction so make sure to aerate your yard too.
What Is the Difference Between Leveling and Grading a Yard?
People often wonder if there is a difference between leveling and grading a yard.
While they both involve leveling the yard, they are slightly different.
When you level a yard, you are smoothing it out by filling in dips and breaking down bumps and ridges.
The goal is to end up with a lawn that is smooth and flat.
When you grade a yard, you are sloping the ground so that water can flow downhill away from the foundations of your home, your driveway or other structures on your property.
The primary reason to grade your yard is to prevent water damage to your foundation and your home.
There are different ways to grade your yard, including moving earth, building retaining walls and terracing.
Grading a Yard
If you grade your yard properly, it will have better drainage.
Not only will the grade allow water to flow away from your home, your plants and trees will do well because they will never sit in standing water.
In addition, your lawn will be more likely to stay level because it will suffer less runoff and erosion.
You never want to have marshy spots where water accumulates. This can erode your soil and can cause your grass and plants to develop disease.
It will also cause the nutrients to be washed out of the soil and this will be a large project to fix later on.
It is ideal if the yard is graded so that water never accumulates in the same spots.
Grading your yard may be necessary if you find that the ground is pitched towards your home. Draining issues can be a disaster and damage your foundation, your walkways, your garden and more.
There are certain times that you need to take action right away. For example, if you have water leaking into your basement, you need to take care of it.
Grading your yard isn’t terribly difficult but you need to spend some time making a plan.
You need to know what is underground. This includes pipes, wires and traps or vents near your buildings.
You need to make sure that you don’t bury any traps or vents and you can raise pipes that need to be above the ground. You should also pay attention to your basement windows because you don’t want them to end up underground.
In other words, you can’t simply add dirt near your home to solve this problem. You have to evaluate the entire yard to make a plan to grade your home and pitch it away from your home. You need to check your local building code to find out the minimum amount of your foundation that should be showing. It is usually around six or eight inches.
If you are not able to grade your yard near your home, you can try to install a French drain. This is a pipe with holes in it that you bury underground. The extra water will flow into the drain and then be carried away from your house.
Steps to Grading a Yard
Here are the steps you need to take to grade your yard.
First you need to locate the high and low spots in your yard.
The high spots are places where the water runoff starts flowing in the wrong direction. This is the area where the ground is raised and begins to flow towards your home or your garden.
The low spots are the places where you might find standing water as water accumulates.
Next, you will determine the rise and the run of your land. You need ground stakes, nylon rope and line levels. The run is the horizontal distance between the highest point and the lowest point in your yard. If you place a stake in the high spot and the low spot and connect them you can determine the height of the pitch.
The rise is the length that the ground is sloping. Once you know these numbers, you will know how much dirt you need. You can order topsoil or pick up whatever you need. Start at your low point and fill your wheelbarrow with the topsoil. You can go to the low point and dump it into the low area.
It is important to turn this low point into the new high point. The pile of dirt needs to be taller than the high spot on the property. Next, you can take the back of your rake and smooth the dirt. You can take a piece of plywood to pack the dirt in tightly. You could alternatively use a tamper to press the dirt in. You may need to add more dirt afterwards. It is important to make sure that you have enough dirt to turn this area into a high spot.
Once you are finished, you can add water to make sure that the dirt doesn’t erode away. Then you can lay down sod or plant grass where you installed the new dirt. You can apply this process anywhere where you need to grade the lawn.
Final Thoughts
Getting a nice green lawn that is flat will make your yard look absolutely incredible.
It can make mowing your grass a real pleasure, especially if you have a reel mower.
They key takeaway is that there is a large difference between levelling very small bumps in your yard with some sand to taking care of those deeper ruts in your grass.
If you are trying to level out ridges up to a few inches deep, you absolutely do not want to use plain sand. If the weather gets too warm, you’ll end up with a baked spot in your grass.
The number-one thing that you can do to prevent bumps and lumps from popping up in your yard is to pay close attention and level any areas that need it as they appear. This way, you will not have such a big job for yourself later.
By taking steps now to make sure that your lawn remains level, you will not have to level the entire yard at a later time.


