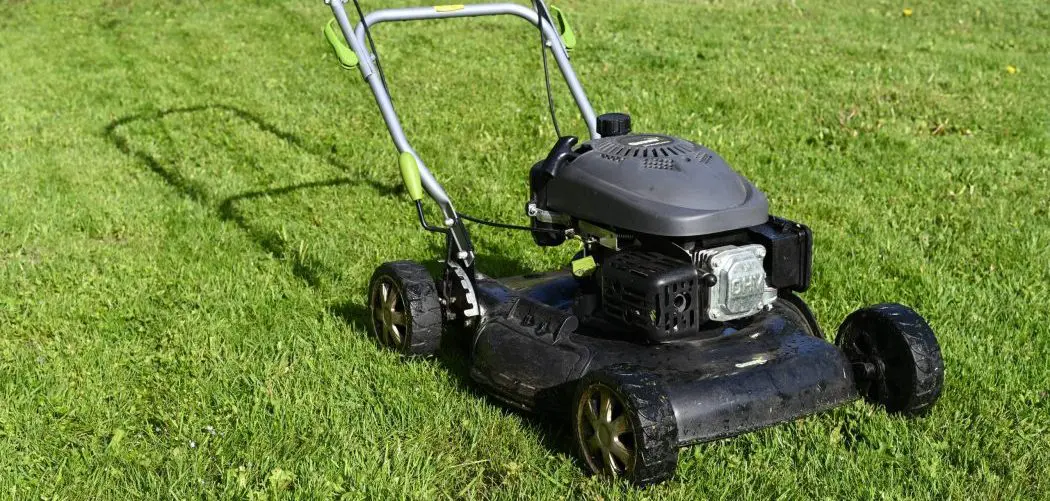
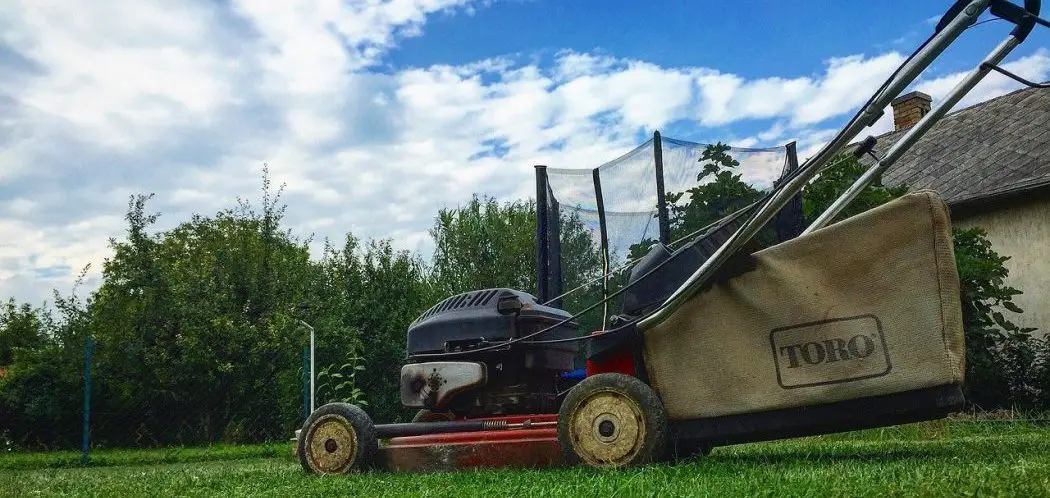
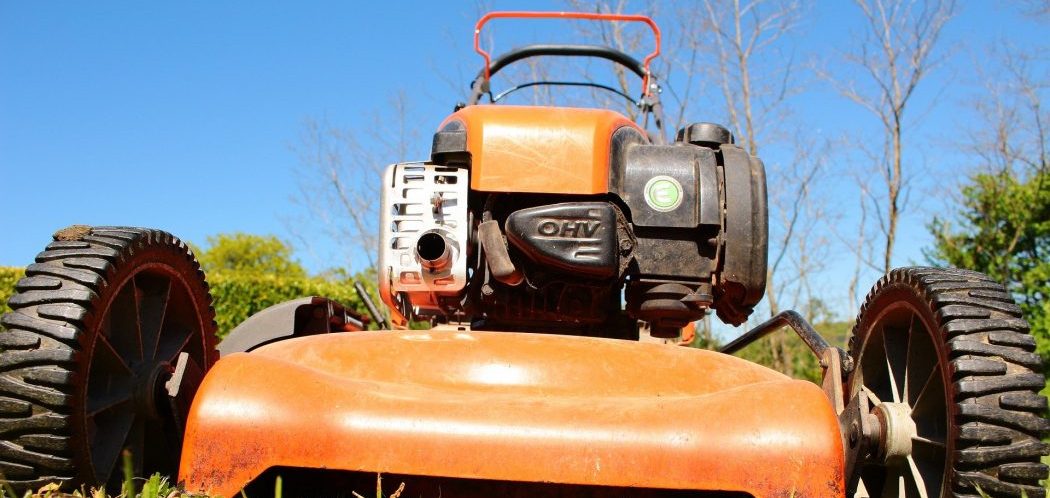
The in depth guide below will show you how to winterize a lawn mower. This will apply to pretty much all lawn mowers since all of the basic principles remain the same.
You don’t want to be in that long line of people trying to get their lawn mower fixed up when spring time comes around.
Preparing your lawn mower for winter is one of the best things you can do to ensure it lives a long and productive life! It will also save you all the hassle of troubleshooting in the spring time when you need to use it again.
Things You Will Need
- Hose – Used for cleaning
- Wood blocks – Used to prop up the lawn mower
- Plastic scraper – Used to remove dirt
- Rag – Used to dry the mower
- WD-40 – Used to disperse water where metal meets metal
- Engine oil – Used to replace the oil
- Drain pan – Useful when draining the oil
- New air filter – This may or may not be needed
- Thick work gloves – Used for sharpening the blade(s)
- Ratchet – You’ll need one that fits the bolt the holds the blade to engine.
- Eye Protection – Used for sharpening the blade(s)
- Bench grinder – Used for sharpening the blade(s)
- Ethanol free premium fuel – If you’re leaving your tank full (optional)
- Fuel Stabilizer – Keeps your fuel system clean
- Touch up paint – Used on the chassis surface
Having a helper isn’t essential but it can always be useful!
Lawn Mowing Tip – Select an Appropriate Speed on the Mower
People tend to run their lawn mower at a higher speed than what they should. Holding the lawn mower back causes the wheels to spin which causes them to wear out excessively fast. Select an appropriate speed on the mower to avoid this problem!
How to Winterize a Lawn Mower?
1. Pull the spark plug
If you’re going to leave your lawn mower engine all winter, pull the spark plug out and squirt some oil into the cylinder. Next, put the spark plug back in. Without using the safety handle, pull the cord slowly to circulate the oil in the cylinder. This helps with lubrication, prevents ware and tear and makes for smooth start next season. It may smoke on the first start but after this you should be good to go as usual.
2. Clean the lawn mower
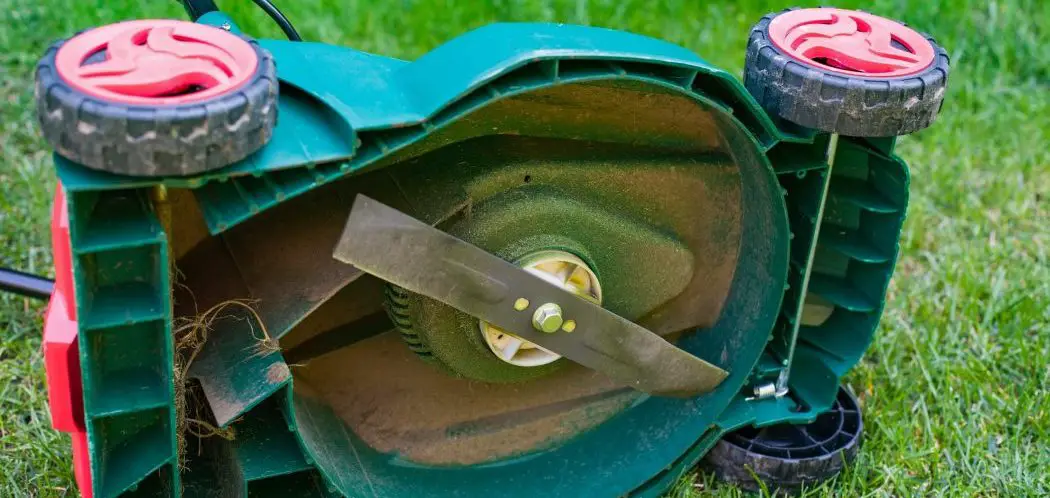
Firstly, tilt the lawn mower to the side to flip off the blades and clean underneath the lawn mower. When you do this, make sure the exhaust points upwards. If you tilt it exhaust side down, the oil will shoot out everywhere into your air cleaner on the next start.
Give the mower a good clean both under the deck. To do this, take a regular scraper and scrape the deck clean. This is really important since dead grass or mud left on the deck may cause it to rot if left over time. Ideally you would clean this regularly throughout the year but certainly the most important time to clean this is at the end of the season.
Next, you want to give the deck a good rinse with a garden hose. Some decks are made of plastic which makes for easier cleaning. It’s also important to note that we don’t recommend using a pressure washer. This is to avoid getting water into areas which should be kept as dry as possible. For example, some mowers may have an exposed exhaust point or electrical components such as an external starter. You also want to stay away from getting too much water into the electrical control box if you have an electric start.
Next, rinse off the mower itself. Simply hose it down and then scrub the mower down with some soap and a brush in order to remove any grass or soil from the mower. Don’t forget to rinse out the grass chute either.
You should then use a blower to remove all of the moisture. This is more important in winter to avoid any water freezing. You could also use a rag here.
3. Use Wd-40 to Help the Metal Components
Use WD-40 to spray the pivot points with a light coating. This will help to disperse any water and help to prevent any metal components from seizing together.
4. Start the lawn mower and dry out the motor
Run the lawn mower for several minutes while engaging the blade clutch. This will help heat up the engine oil to facilitate the next step.
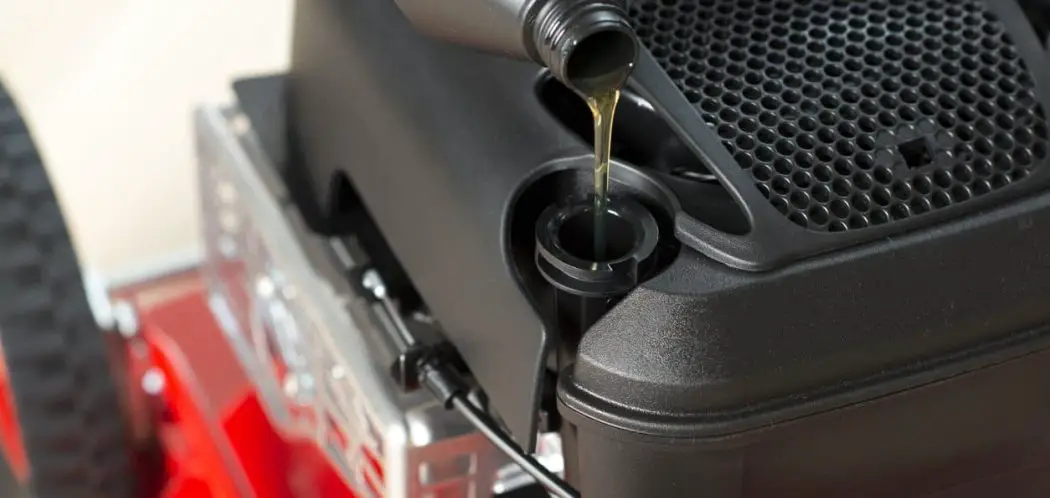
5. Change the engine oil
Now that the oil is hot, it’s time to change the engine oil. To prevent the engine from starting up, disconnect the spark plug to ensure that the engine can’t fire. Remove the dip stick and then dump the oil out into a container. Using wood blocks or a helper maybe useful here.
Now using a skinny neck funnel, fill the engine with the correct oil. In order to do this, you will need to find out what the engine manufacturer recommends. Always check with your manual to know what grade you should be using.
You are recommended to change the oil once a year, or after 50 hours of use.
6. Check your engine air filter
Undo the clip or securing screw in order to expose the air filter. This needs to be checked and it likely needs to be cleaned using compressed air. You may even need to replace the air filter if there are any holes in the paper element.
7. Sharpen Your Mower’s Blades
Be Careful!
Don’t wear any loose clothing when using the bench grinder that could get caught in the machine. Always be sure to wear safety glasses too.
In order to do this, first remove the blade using a ratchet that fits the bolt holding the blade to the mower. Before removing, remember to remove the spark plug. This is a safety precaution measure. You definitely wan’t to avoid starting the lawn mower.
In order to sharpen the blade, we recommend using a bench grinder since. This makes it easier to obtain a smooth finish all the way across the blade. Don’t forget your safety glasses!
By holding the blade securely, grind the edges on the bench grinder using long strokes to clean them up. Newer will need less work but you should always try and eliminate any jagged edges as much as possible.
Finally, you should ensure that your blade is properly balanced. To do this, remove any extra caked-on grass or dirt which may throw the balance off. A well-balanced blade is important to ensure it’s proper function.
You can even test this by inserting a smooth edged screwdriver through the middle hole to see if the object drops to either side. Ideally the blade should be in balance.
Finally, reinstall the blade back onto the lawn mower. A very common mistake here is to put the blade(s) back on upside down. Double check that you have put them back on correctly. The angled surface of the cutting blade always should point upward towards the top the machine.
Need to replace your lawn mower’s blades?
You maybe be wondering if lawn mower blades are interchangeable.
>> We have a helpful article on everything you need to know about this here!
8. Should I leave gas in my lawn mower over the winter?
You have two options here:
- Run the mower out of fuel
- Leave the tank full with ethanol free fuel and stabilizer.
There are benefits and drawbacks to both. Leaving it full prevents any condensation in the fuel system. This means that you won’t get any water in the carberuter or gas tank which could lead to rusting.
Either option will be fine, but we think the best approach is to fill up the gas tank with fresh fuel and then add a healthy dose of a stabilizer. Note that the tank should be filled full since air can spoil the fuel. Next run the mower in order to ensure good circulation. This process should help prevent any issues on the first start in the spring time.
Which ever option you choose, make sure to either run the fuel tank or carburetor out of fuel.
9. Chassis maintenance
You should apply a coating of touch-up paint to the outside. Before you do this, you may want to make sure the outside surfaces of where you are painting are clean. You could use some rubbing alcohol to take off any oil or wax that would prevent any paint from adhering to the deck.
Your Lawn Mower Is Now Ready for Winter!
There you have it! Your lawn mower is now ready for winter. Winterizing you lawn mower is neither difficult or overly time consuming . It will now be protected from corrosion and it can be packed away after a quick final inspection. It’s certainly a sad time of the year but taking these steps are necessary in order for your mower to be ready to use again one the spring time rolls around.

