
A lumpy, patchy sod lawn is the stuff of nightmares for homeowners wanting a flawless yard. But it’s a common outcome when sod get laid improperly, with sloppy seams, gaps where pieces don’t join, and overlapped areas forming bulges.
Not only do these flaws look unsightly, but they can lead to dead grass patches when gaps widen. Meanwhile, overlapping sections won’t properly root and establish.
While sodding seems straightforward in theory, careful techniques make all the difference. Follow these 5 tips to help your sod install go smoothly for a seamless, lush lawn you’ll love.
Tip 1: Proper Planning is Crucial
Rushing into sod laying without planning is a recipe for a patchy mess. Like any construction project, success starts with thorough preparation and gathering supplies.
Measure the Area Precisely
Accurately measure and map out the lawn area you want to sod in square feet. For non-rectangular or irregular spaces, break out a measuring tape and take dimensions section-by-section to calculate the total square footage.
Trying to eyeball the area or guess square footage will likely leave you with too little or too much sod. Precise measurements allow ordering just the right amount.
Calculate Sod Requirements
Once you know the total square footage area, determining sod requirements takes a little math:
- Standard sod rolls are 16-18 inches wide and 42-72 feet long, covering around 50-75 square feet.
- Divide your total area by the standard roll coverage to estimate how many you need.
- Add 5-10% extra as a buffer so you don’t come up short.
Online sod calculators can do the math for you when you input area dimensions. But you may find it costs less to do the calculations yourself rather than relying on an automated quote.
Ordering a few extra rolls is ideal since you can always use leftovers for patching or expanding your lawn later on. Running out mid-job will derail the project.
Schedule Delivery
Call your chosen sod provider early on to schedule delivery about 1-2 days before the planned installation. Many sod farms cut, deliver, and even install sod with just a few days lead time.
Having fresh sod arrive too far ahead can lead to drying out or mold growth if left stacked for long. But you do want the grass to adjust and recover from handling shock before installation.
Pick a Good Storage Spot
Decide where you’ll store and stage pallets during the 24-48 hour period between sod delivery and installation. Choose a shady area near the install site where you can easily move rolls from.
Unstack sod and loosen up the rolls as soon as it arrives so air can circulate. Mist as needed to hydrate the grass but avoid soaking the sod.
Assemble Tools
Pull together essential sod laying tools ahead of time so they’re ready to go on installation day:
- Sharp utility knife – for precision cutting around curves and objects
- Sturdy metal rake – for smoothing underlying dirt and leveling sod
- Flat-head tamper – for compressing seams tightly
- Work gloves – for protecting hands from blisters and abrasion
- Measuring tape – for double checking roll dimensions and site measurements
- Shovel – for moving and shaping underlying soil if needed
Avoid flimsy plastic tools that can bend, snap or tear the sod. Powered circular sod cutters also tend to shred and fray edges. For best results, go manual with high-quality non-motorized tools.
With the area measured, sod ordered, tools in hand, and turf staged nearby, you’ve tackled the hard planning phase. Now the fun part—it’s time to start laying!
Tip 2: Precise Installation Techniques
Meticulous, careful technique while laying sod makes all the difference in avoiding unsightly gaps or bulges in the finished lawn. Patience pays off here as rushing the job leads to mistakes.
Set String Guides
Mark straight lines along one edge of the install area using string and stakes. These act as guides to keep rows straight and evenly spaced as you lay sod along the string lines.
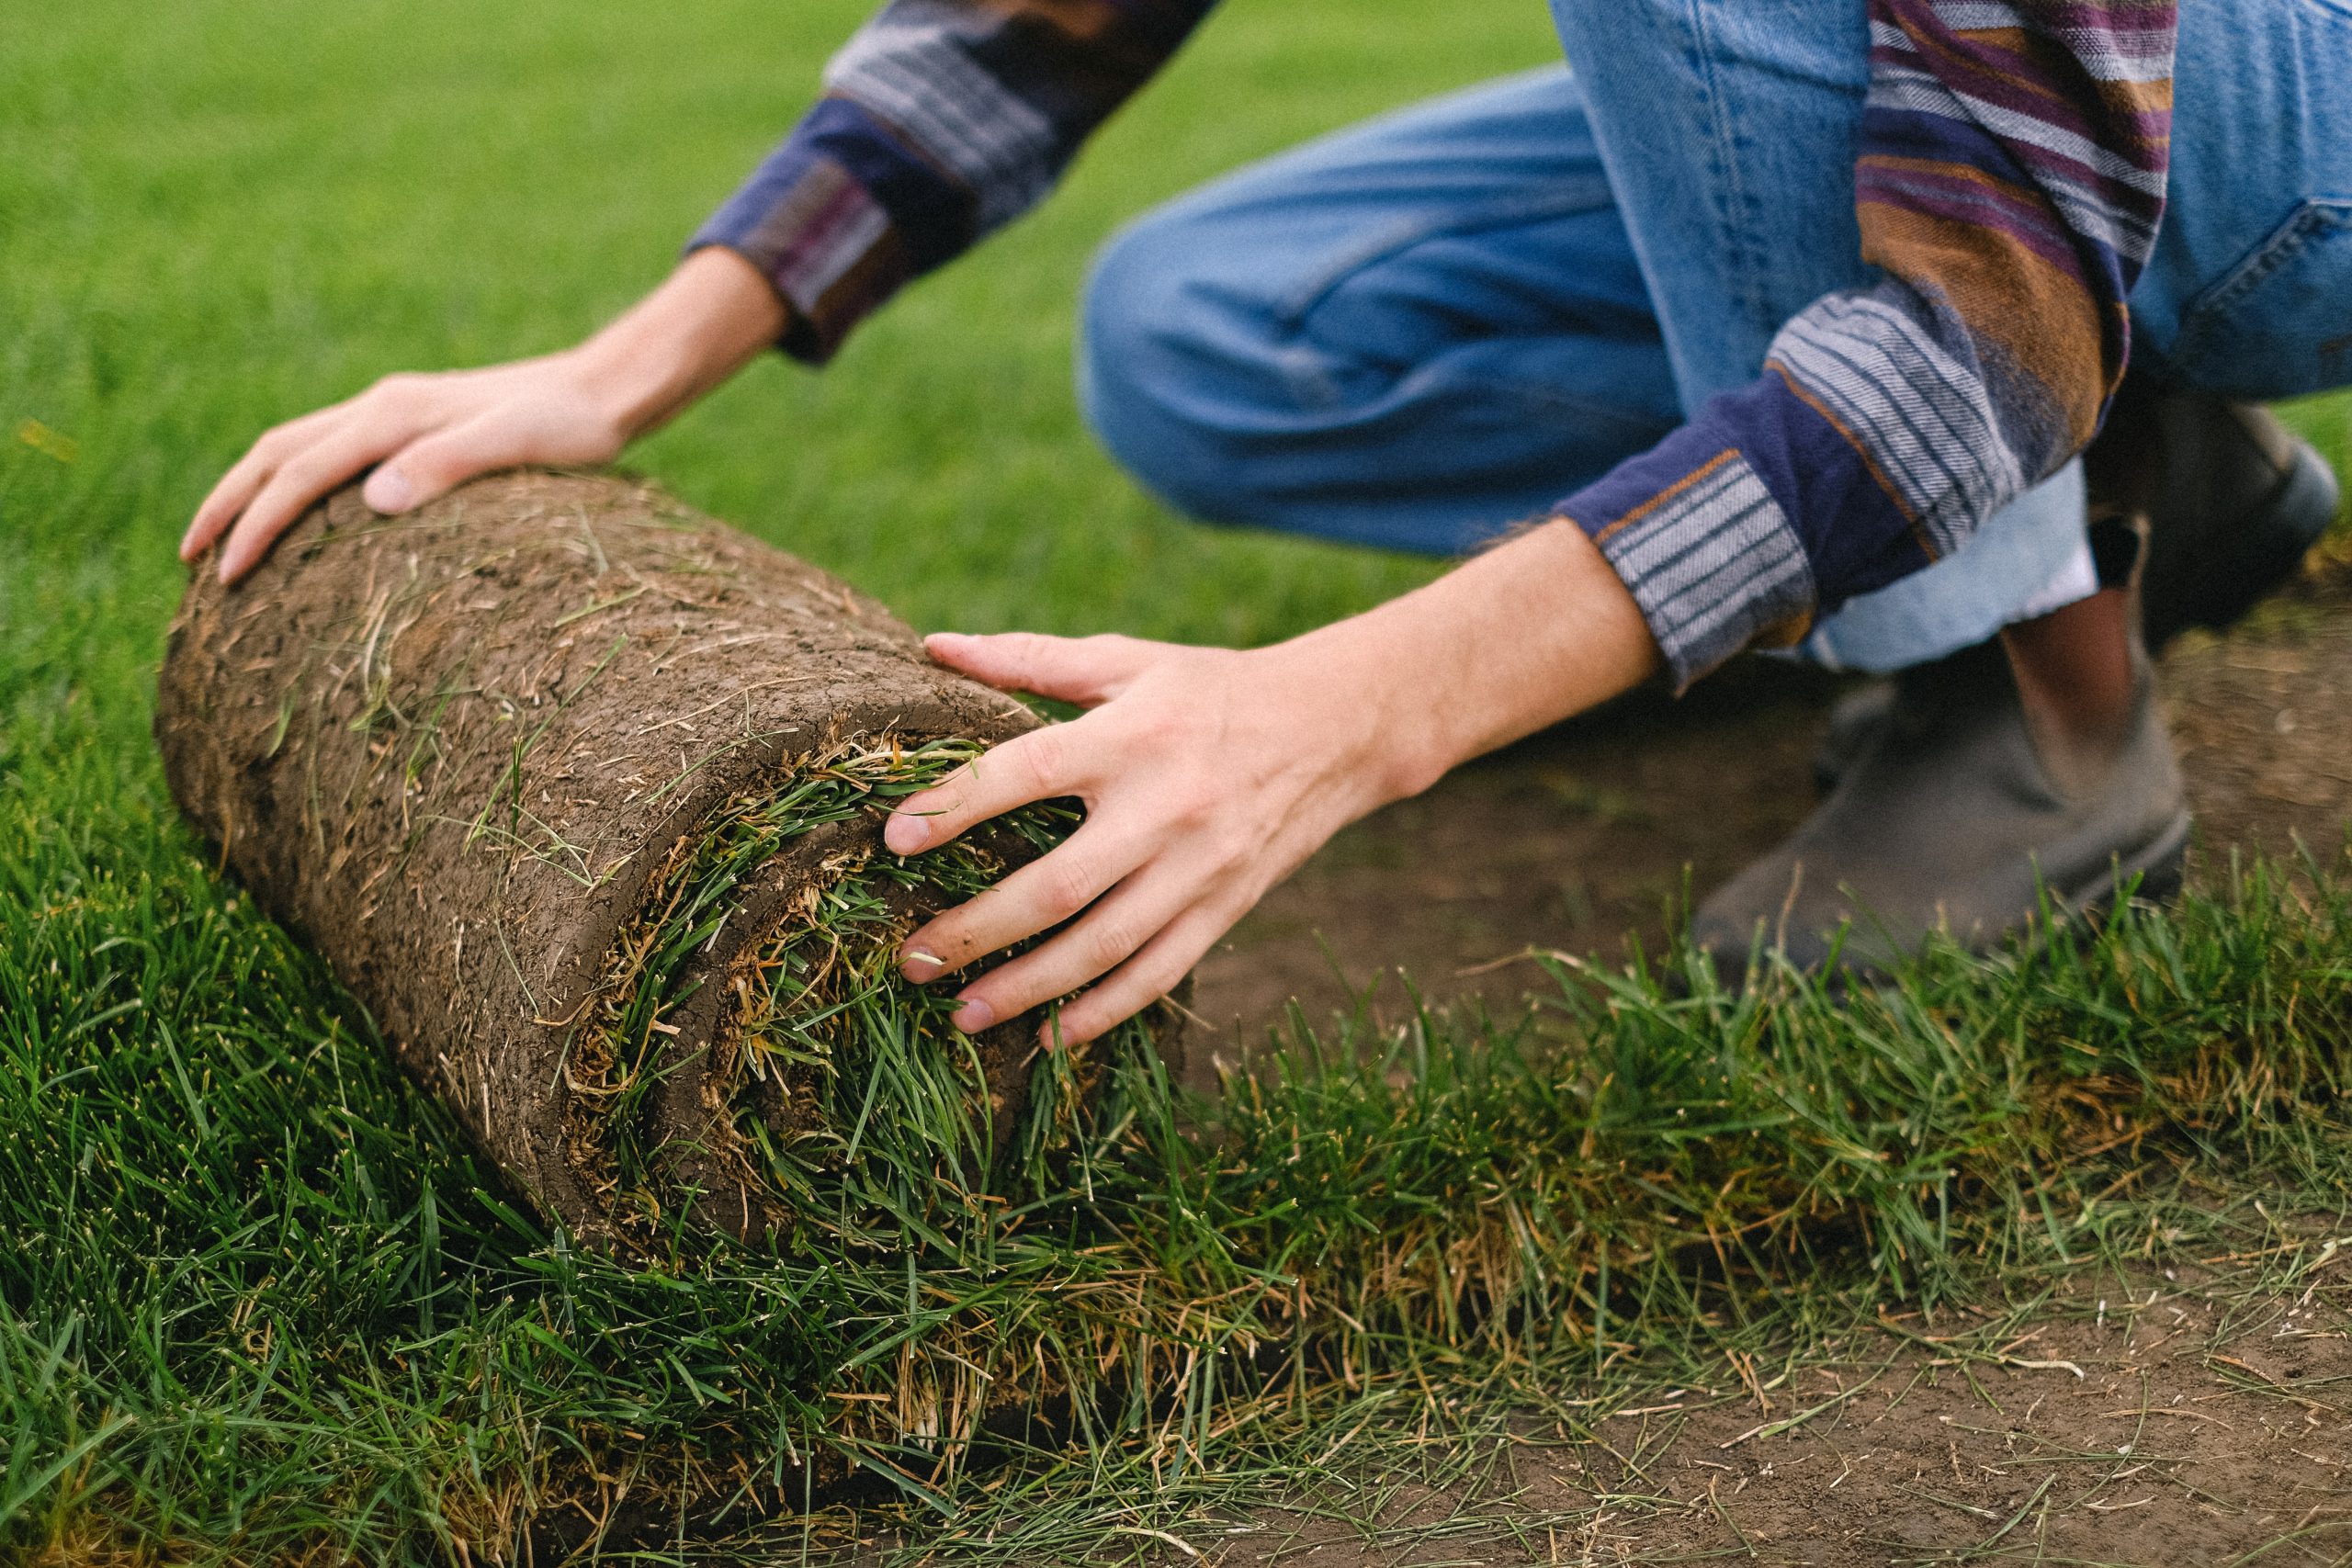
Start at Edge and Unroll Rows
Begin installing sod along the string line, gently butting the rolled edges together without overlapping. Avoid leaving any gaps between the strips.
Work methodically across the lawn unrolling rows of sod along the strings. On straight runs, alternate between unrolling left-to-right and then right-to-left to avoid shifting gaps.
Butt Edges Tight
As you unfurl sod strips, pay close attention to butting the edges tightly together without overlaps. Place sod so the edges meet perfectly without leaving low spots or raised humps.
Work Systematically in Sections
On larger installations, break the area into logical sections to work through one space at a time. Completely install sod in defined sections before moving to remaining areas.
Avoid jumping around randomly, as this can result in gaps, overlapping layers, and uneven undulations. Systematic sectioning prevents mistakes.
Tamp Between Rows
After unrolling and aligning each new sod row, go back and tamp down seams between rows. Use a flat tamper to apply downward pressure along the seam, squeezing strips together tightly.
Double Check Alignment
Periodically step back and inspect the overall area for any misaligned strips, gaps opening up, or pieces shifting out of place. Catch and correct any issues immediately before moving too far ahead.
With care to tightly abut edges and thorough tamping between rows, the sod will come together in a uniformed mat with clean, barely visible seams. No gaps = no problems down the road!
Tip 3: Make Precise Sod Cuts Around Obstacles
Laying full sod strips in open rectangular areas is straightforward. But navigating corners, trees, pipes, and other obstacles requires some careful trimming and custom cutting.
Measure Spaces and Mark Cut Lines
Use a measuring tape to gauge the exact shape and dimensions of any odd spaces needing custom sod. Mark intended cut lines with spray paint or flour.
Cut Tight Around Obstacles
Don’t be afraid to cut sod strips into small pieces to fit around pipes, sign posts, water valves, and other features protruding from the lawn.
Trace the obstacle shape as you cut carefully with a sharp utility knife, keeping the sod butted tightly to avoid future gaps. Remove small strips as needed near protruding objects to fit properly.
Cut Right Angles for Corners
Use spray paint and a square to mark 90-degree cut lines for sod corners. Cut along lines with knife to achieve clean, precise corner edges.
Avoid rounding or overlapping corners, as this looks sloppy. Take time to trim for 90-degree perfection.
Make Curved Cuts
For smooth curves, mark the arc with spray paint and use a utility knife to cut the sod along the curve.
Place the sod pieces tightly together, alternating the direction of each curve cut to align the shape.
Fill Odd Shapes with Patches
Cut small leftover strips and pieces to fill in odd or complex shapes where full sod won’t easily fit. Fit together like a puzzle, tamping down around the edges so patches blend in.
Aim to make custom sod patches at least 6 inches wide to avoid tiny fragmented sections. For very small corners or strips under 2 inches, use grass seed or plugs instead.
Keep Cut Edge Exposure Minimal
Whenever possible, position cuts against edges or covered areas rather than fully exposed. This prevents the cut edge drying out.
Proper planning, careful measurement, and precision cutting keeps those custom sod shapes looking sharp. It takes finesse, but smooth results are achievable with practice.
Tip 4: Stagger Seams for Better Knitting
Ever notice how bricks in a wall are offset, with each new row overlapping the spaces between bricks below? This creates a strong, interlocked bond and distributes weight evenly.
You can use this same “bricklayer” approach with sod by staggering the seams in rows for better knitting and strength.
Why Offsetting Seams Matters
Straight seams aligned consecutively across the lawn concentrate the weight and stress. This can lead to lifting, dieback, and gaps where seams detach.
Staggering rows offsets the seams, distributing weight for better knitting and longevity. The staggered pattern simply looks more orderly and planned out.
Measure for Consistent Spacing
To maintain consistent bricklayer spacing, measure and mark interval points along one edge of the lawn using spray paint or stakes. Use these points as a reference to start new rows.
A 6-12” offset between rows provides good interlocking seams while not becoming overly complex to install.
Maintain Pattern as You Work
Keep the bricklayer design in mind as you lay sod, varying the starting point of each new row based on your pre-measured points. Step back periodically check the offset pattern is being maintained consistently.
Having a helper coordinate seam spacing can be useful for more complex patterns.
Trim Row Ends to Redirect
If rows start to drift into alignment, redirect back to the staggered pattern by trimming the end of a sod roll so it finishes partway into the space instead of centered.
This helps redirect the zig-zag design. Don’t be afraid to trim strips as needed to maintain bricklayer integrity.
Mind Straight Lines Near Fixed Edges
It’s fine to do straight seams along borders like sidewalks, driveways, garden edges where you need a clean line. But anywhere with flexibility, opt for offset seams.
With care to consistently offset rows, the results will be strong, interlocked seams that withstand the test of time.
Tip 5: Blend Sod Together into a Unified Mat
After laying all sod across the designated area, the final crucial step is melding the sections together into a single, uniform mat. This involves tamping, rolling, and weighting the fresh sod.
Do a Final Tamping
Walk across the laid sod, tamping down each seam even if you already tamped during installation. This final overall tamping ensures seams are pressed flush and tight. Pay extra attention to any seam gaps or lifted edges.
Roll the Entire Area
For overall smoothing, use a water-filled lawn roller across the entire sodded section. Roll in different directions to flatten any humps or seams.
The heavyweight rolling presses out air pockets and pushes pieces together for better contact.
Segmented rollers with individual weighted discs also work well to help seams knit while following lawn contours.
Fill Gaps with Topsoil
Inspect for any remaining low spots or gaps between sod strips. Fill these trouble spots with a thin layer of fine topsoil, then use a push broom to sweep soil across the gap. Water well to settle the soil so it fills the void and boosts leveling.
Weight Edges
Place stakes, planks, or sandbags around the perimeter and seams of the sodded area. This holds the edges firmly against the soil while roots establish.
The goal is just enough weight to prevent curling or lifting. Too much will indent the sod. Adjust and add/remove weight as needed.
Water Thoroughly
Water the sodded area very thoroughly until the top 6-8 inches of soil is wet. Ideally use a sprinkler that mimics rainfall versus focused spray nozzles. Then keep the soil consistently moist for 2 weeks while sod takes root.
Watch for Issues
Inspect for any lifting sod, overly dry patches, or indications of inadequate rooting like rolled up corners. Catch issues early and tamp, weight, or water as needed to get sod fully adhered before removing any extra weights.
With proper tamping, rolling, watering and weighting during the critical initial days, your sod will knit together into the lush, flawless lawn of dreams!
In Closing…
While proper sod installation does demand careful prep, patience and technique, the efforts pay off when you can admire a pristine, healthy grass free of unsightly gaps, bulges and seams.
Follow these 5 tips, take your time, and don’t stress small mistakes. With experience, you’ll be laying sod like a pro. Just remember—measure precisely, butt seams tight, offset rows, make clean cuts, tamp thoroughly, and blend together with ample water and weighting.
We’d love to hear your own sod installation tips and tricks! Let us know what techniques have worked for your lawn in the comments below. Here’s to many perfect grassy yards ahead!


